The Ultimate Guide to Choosing the Best Dryer Belt: Everything You Need to Know
Using a dryer is a convenient way to dry clothes quickly and efficiently. In order for a dryer to function properly, it relies on a crucial dryer component known as the dryer belt. This article will delve into the world of dryer belts, explaining their importance, how they work, and why it is essential to choose the right one for your dryer.
What is a Dryer Belt?
A dryer belt, also known as a drive belt, is a looped, rubber band-like component that connects the motor of a dryer to the drum. Its main purpose is to transfer the rotation force from the motor to the drum, allowing it to spin smoothly during the drying cycle.
Importance of a High-Quality Dryer Belt
When it comes to drying clothes, a properly functioning dryer belt is essential. A high-quality belt ensures that the drum rotates smoothly and evenly, preventing items from getting tangled or damaged during the drying process. It also ensures that the heat is distributed evenly, resulting in more efficient drying and less energy consumption.
Signs of a Worn-Out Dryer Belt
Over time, dryer belts can wear out and become less effective. It is important to be aware of the signs indicating that a belt may need to be replaced. Some common signs include:
1. Unusual noises: If you hear squeaking, thumping, or grinding noises coming from your dryer, it could be a sign that the belt is worn out.
2. Inconsistent drying: If your dryer is not drying clothes evenly or takes longer than usual to dry, a faulty belt could be the culprit.
3. Drum not spinning: If the drum of your dryer is not spinning at all, it is likely due to a broken or loose belt.

Replacing a Dryer Belt
Replacing a dryer belt is not a complicated task, and it can save you money compared to calling a repair technician. Here are the steps you can follow to replace a worn-out dryer belt:
1. Unplug the dryer: Before starting any repairs, it is crucial to unplug the dryer from the power source to ensure safety.
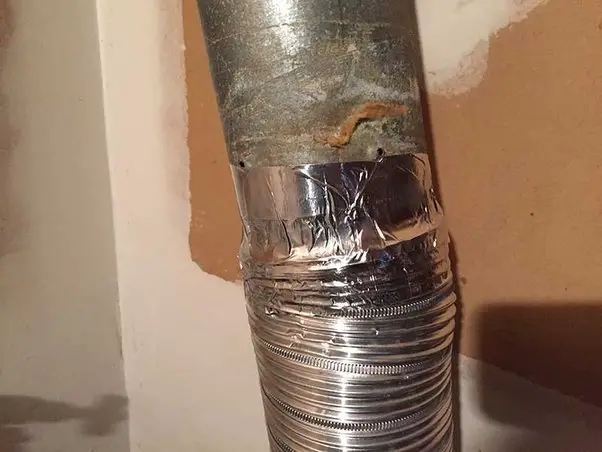
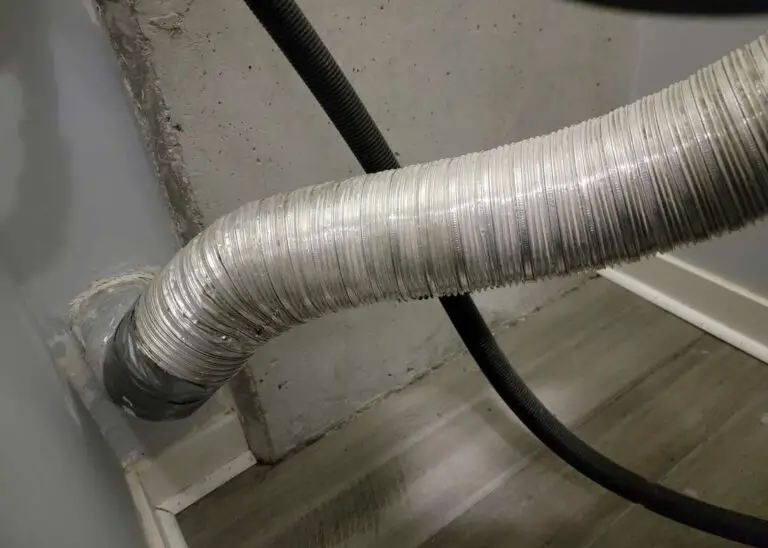
2. Access the belt: Depending on the model of your dryer, you may need to remove the front or rear panel to access the belt. Consult your dryer’s manual for specific instructions.
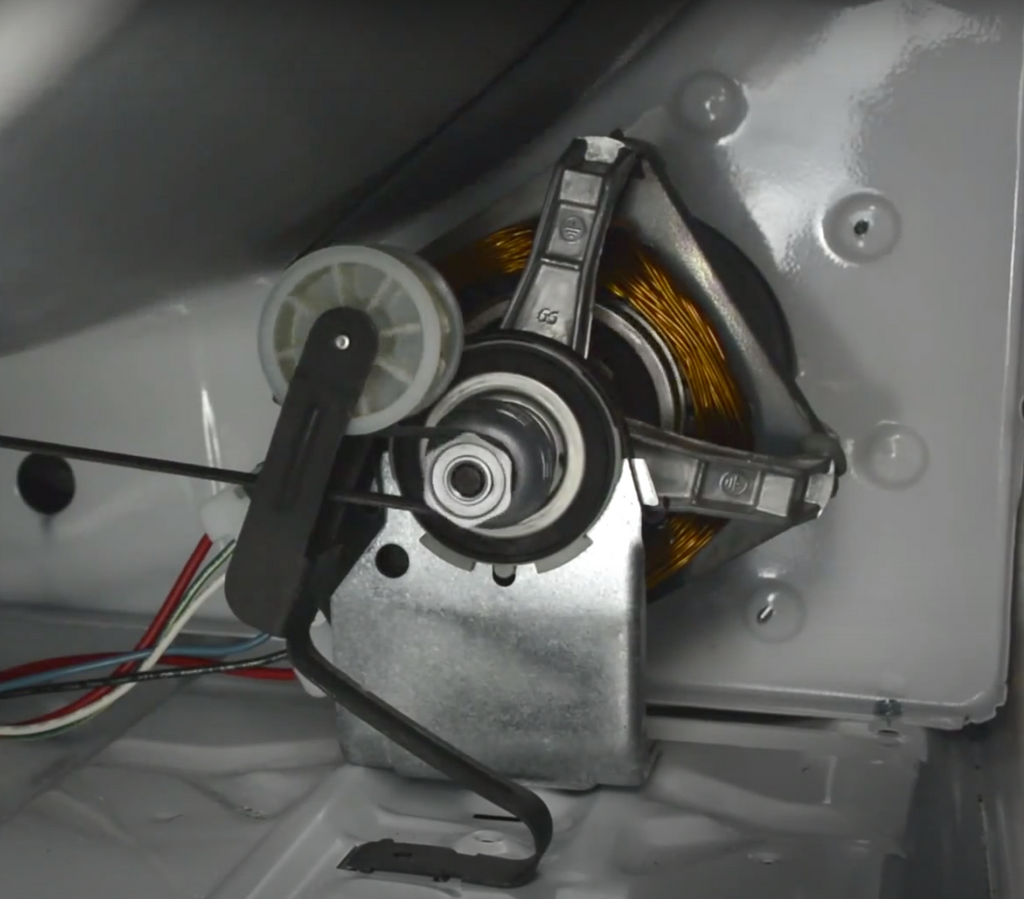
3. Remove the old belt: Once you have accessed the belt, use a wrench or screwdriver to loosen the tension and remove the old belt from the motor and drum.
4. Install the new belt: Place the new belt over the drum and loop it around the motor pulley, ensuring that it is positioned correctly and snugly.
5. Reassemble the dryer: Put the front or rear panel back in place and secure it. Double-check that the belt is properly aligned and tensioned.
6. Test the dryer: Plug the dryer back in and run a test cycle to ensure that the new belt is working correctly.
Choosing the Right Dryer Belt
When it comes to choosing the right dryer belt, there are a few factors to consider. These include:
1. Compatibility: Make sure to choose a belt that is compatible with the make and model of your dryer. Consult your dryer’s manual or contact the manufacturer for specific recommendations.
2. Material: Dryer belts are typically made of rubber or other durable materials. Opt for a high-quality belt that can withstand the heat and tension of regular dryer use.
3. Size: Measure the circumference and width of your dryer drum to ensure that you choose a belt with the correct size.
4. Brand and reputation: Do some research and choose a reputable brand known for producing reliable dryer belts. Reading customer reviews can also help you make an informed decision.
Conclusion
Dryer belts are an integral component of a functioning dryer. They ensure that the drum rotates smoothly, resulting in efficient and even drying of clothes. By learning about the importance of dryer belts, recognizing the signs of wear, and knowing how to replace them, you can extend the lifespan of your dryer and save money on repairs. Remember to choose a high-quality belt that is compatible with your dryer for optimal performance.